Whether you』re moving your products to another site or just want to bulk edit the wholesale prices, it』s important to know the correct way of importing wholesale data with your products in the CSV file.
You have multiple options for importing as there are many tools on the market for it.
In this article, we will cover two ways:
Importing using the built-in WooCommerce CSV import/export tool
Importing using the popular WP All Import plugin
Importing using built-in WooCommerce Product import/export tool
In WooCommerce version v3.1, they introduced the Product Import/Export tool, which you can use to download and upload your product CSV file with wholesale data.
We recommend doing the following steps:
1. Create one or two products and set the Regular Price and Wholesale Price. If you』re using WooCommerce Wholesale Prices Premium, you can apply more features such as Minimum Order Quantity, Minimum Order Step and etc. Doing this will generate the custom meta fields when you export the Product CSV.
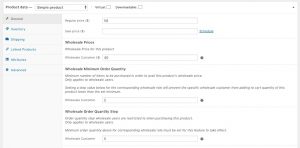 Apply Wholesale Prices on Product Settings (Click to Zoom)
2. Afterwards, go to Products > All Products, at the top part, click the Export button. Make sure to check the Export Custom Meta before clicking Generate CSV.
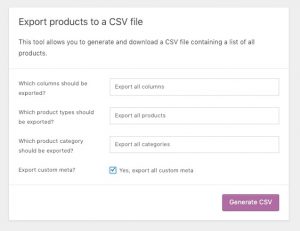 WooCommerce Export Tool (Click to Zoom)
3. Once the download is completed, open the CSV file and you should find the wholesale price meta key that should be named like this: wholesale_customer_wholesale_price
4. Edit the CSV by adding the wholesale prices, and other wholesale data to your products and then save your file.
5. Import your CSV file back using WooCommerce Product Import tool. You』ll notice that our custom meta keys are already set as Import as Meta. Just click the Run Importer
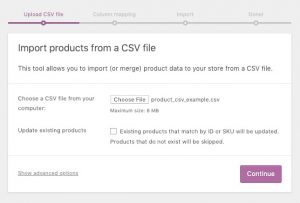 WooCommerce Import Tool (Click to Zoom)
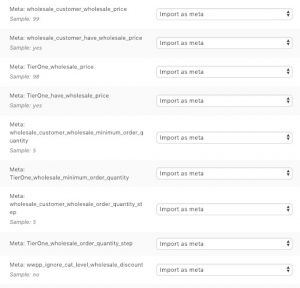 Wholesale Suite Data Import as Meta (Click to Zoom)
6. After the upload is complete, your wholesale prices should now be applied to the products on your site.
Subscribe to Wholesale Suite
Importing using WP All Import
You can also import the wholesale data by using WP All Import with their WooCommerce Add-On Pro. We suggest reading their documentation first on how to import WooCommerce products here.
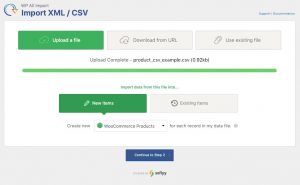
1. Go to WP All Import Dashboard, whether you like to add new items or update existing ones, and select the option for WooCommerce Products
 WP All Import Dashboard (Click to Zoom)
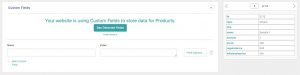
2. Continue to Step 3 and out the necessary data for the fields (Title, WooCommerce fields), then on the Custom Fields, click See Detected Fields.
 WP All Import Custom Fields (Click to Zoom)
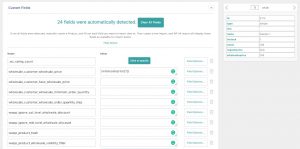
3. It should auto-detect the available custom fields and you should find our custom meta keys like wholesale_customer_wholesale_price. You』ll notice that it will have a value by default. Remove the value and replace it by dragging the title key from the upper right box to the field value instead.
 WP All Import Custom Fields and Values (Click to Zoom)
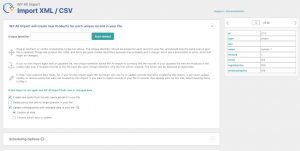
4. Continue to step 4 and click the Auto-detect for the Unique Identifier. Select the necessary settings before you continue.
 WP All Import Unique Identifier (Click to Zoom)
5. Proceed until you finish the import process. The wholesale data should now be applied to your Products.
Importing Product Quantity Based Wholesale Pricing
Our Quantity Based Wholesale Pricing metadata is saved as serialized data in the database. Previously, it was not possible to import/export this data in the product CSV when using the WooCommerce Product Import/Export Tool. But as of WooCommerce Wholesale Prices Premium version 1.17, you can now export user-friendly readable data that you can edit and import back to your Product page.
The two important meta keys to remember are Meta: wwpp_post_meta_enable_quantity_discount_rule and Meta: wwpp_post_meta_quantity_discount_rule_mapping.
The value of the first meta key should be set to yes if you want to enable quantity-based wholesale pricing.
The second meta key determines the values of the quantity discount pricing for that product.
For example, if I have this quantity based discounts in a product:
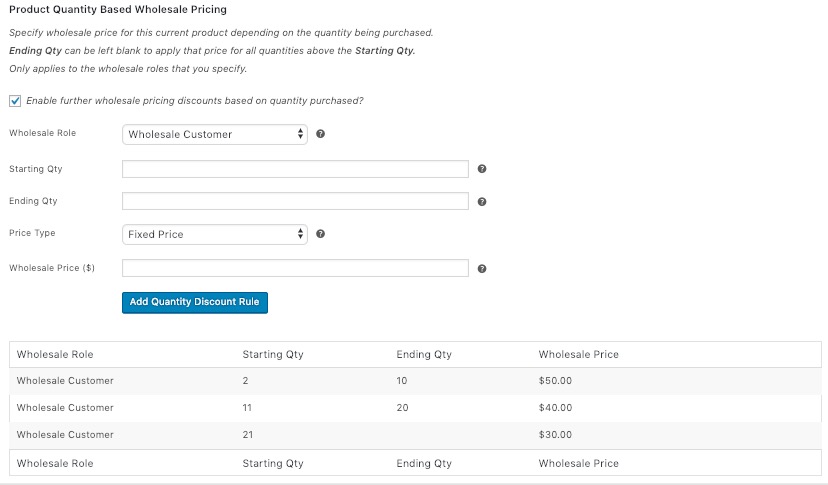
The corresponding value in your CSV for meta:wwpp_post_meta_quantity_discount_rule_mapping, should be:
[{「wholesale_role」:」wholesale_customer」,」start_qty」:」2″,」end_qty」:」10″,」price_type」:」fixed-price」,」wholesale_price」:」50″},{「wholesale_role」:」wholesale_customer」,」start_qty」:」11″,」end_qty」:」20″,」price_type」:」fixed-price」,」wholesale_price」:」40″},{「wholesale_role」:」wholesale_customer」,」start_qty」:」21″,」end_qty」:」」,」price_type」:」fixed-price」,」wholesale_price」:」30″}]
Based on this format, you can easily edit and copy this to your other products to apply the Quantity based wholesale pricing during your import.
Subscribe to Wholesale Suite
Note
In case you』re having visibility issues after importing, we recommend to visit this guide.


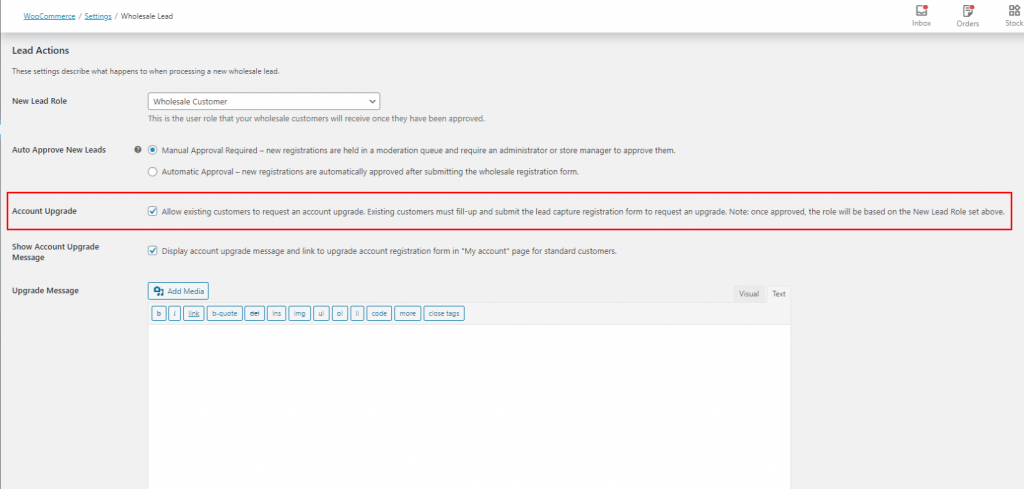 Account Upgrade option in Wholesale Lead setting
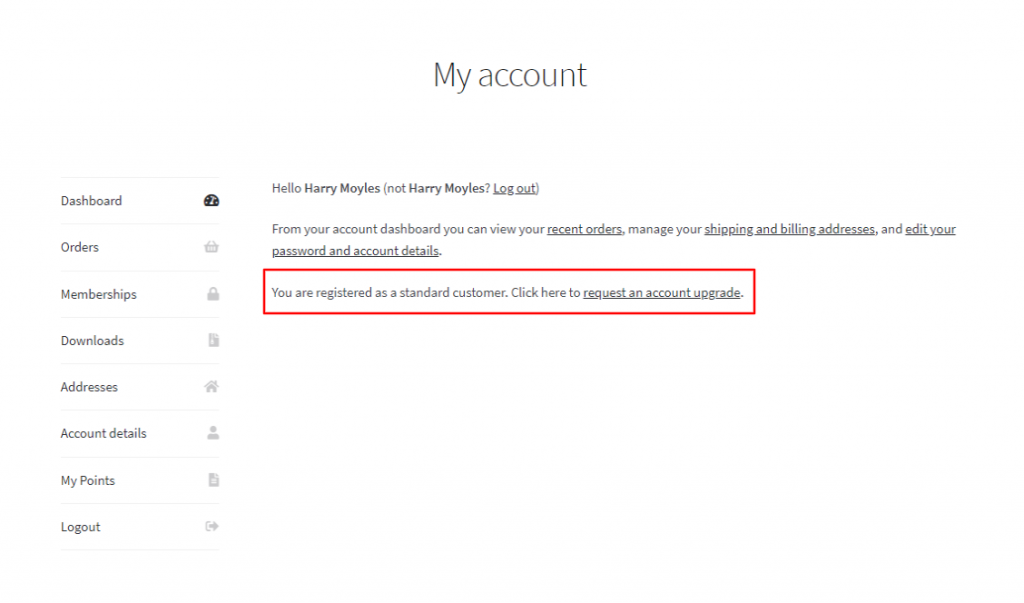 Account upgrade message for a regular customer
 Wholesale Registration page – Upgrade Account Request
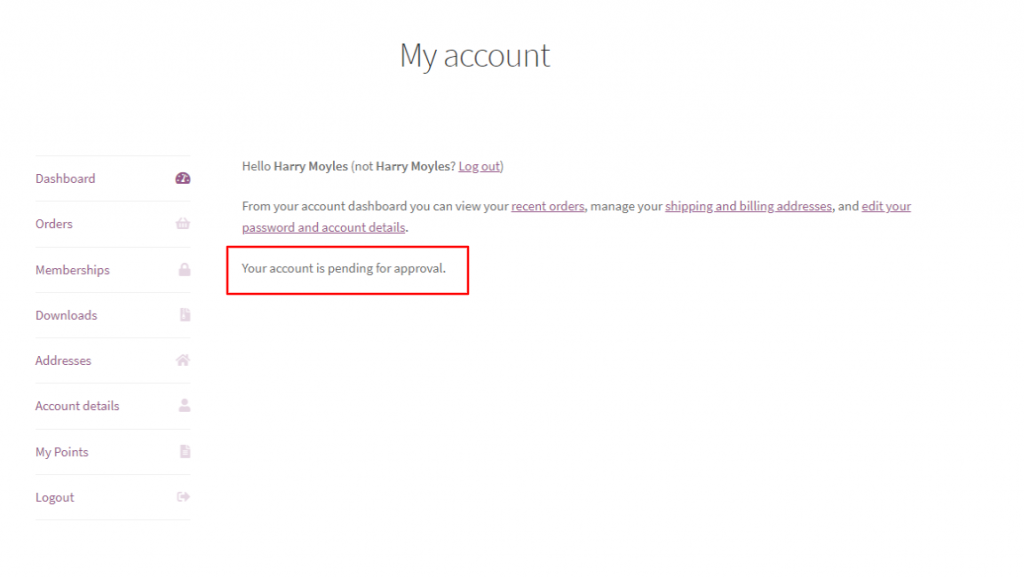 Account is pending for approval notice
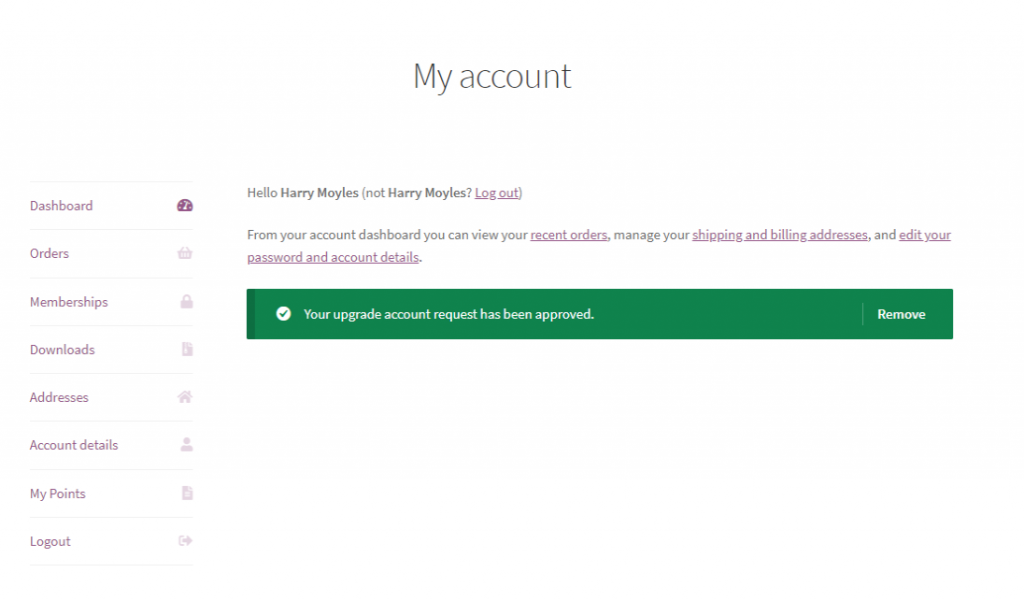 Account upgrade request has been approved notice
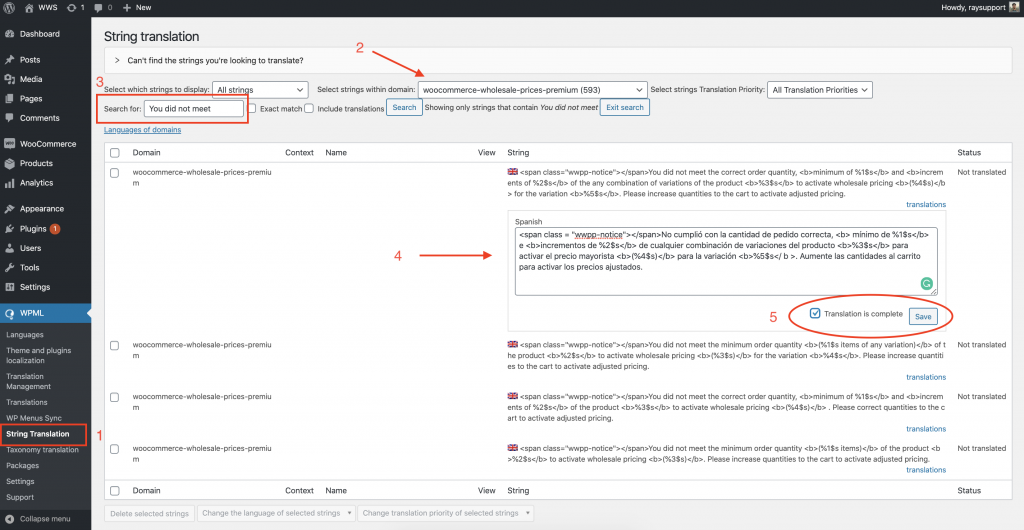
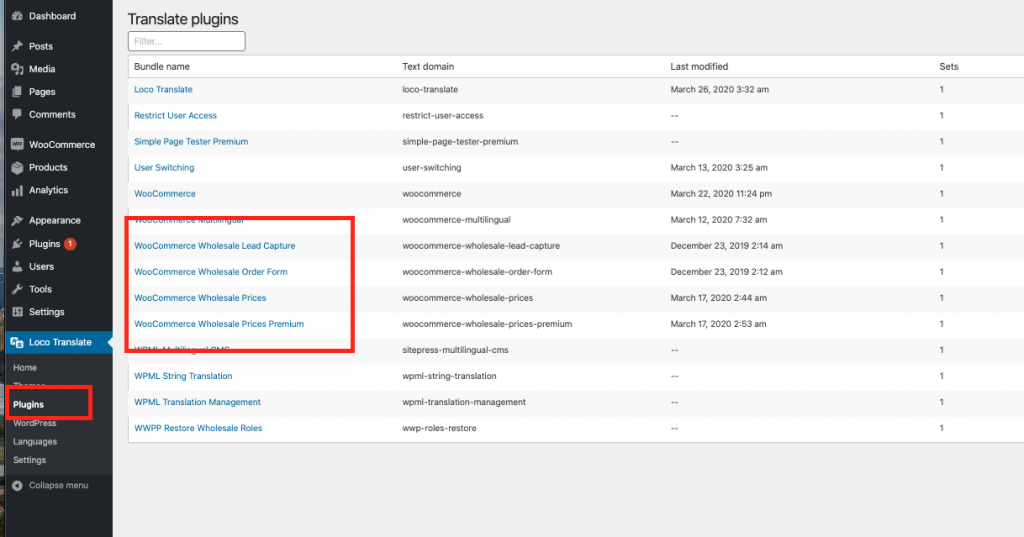 Step 1: Loco Translate > Plugin and choose a Wholesale Suite plugin
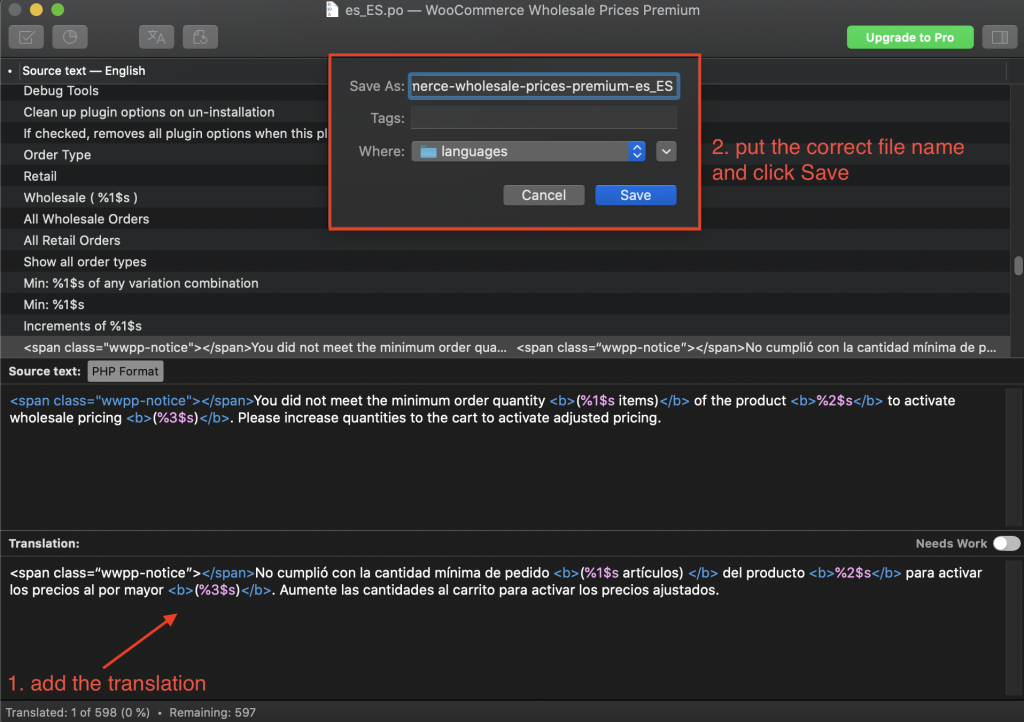
 Step 2: Choose the language and language location.
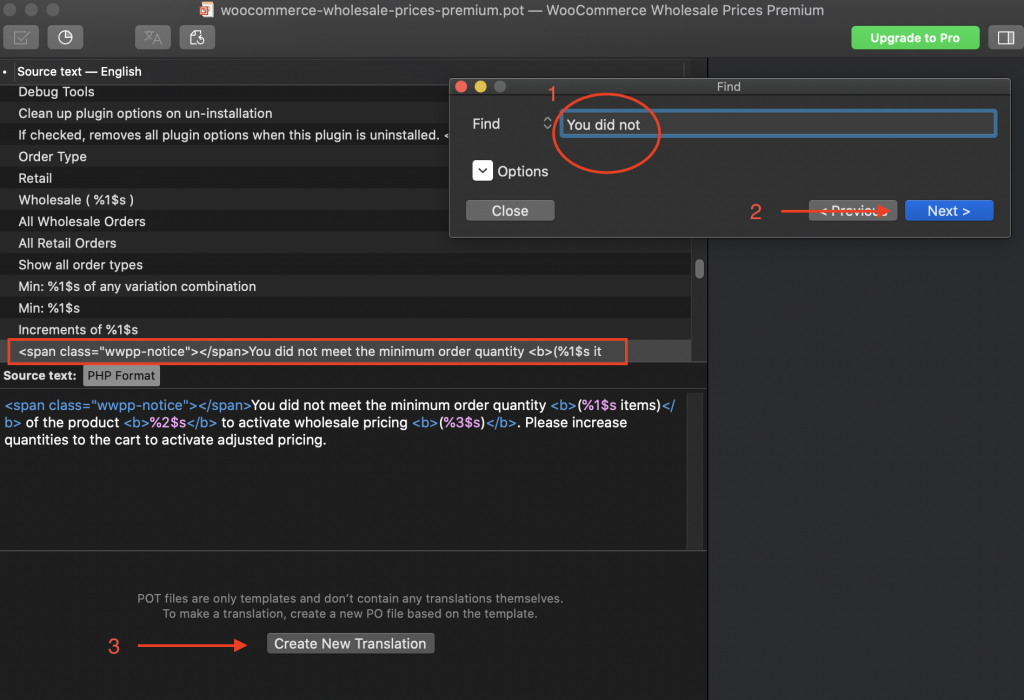
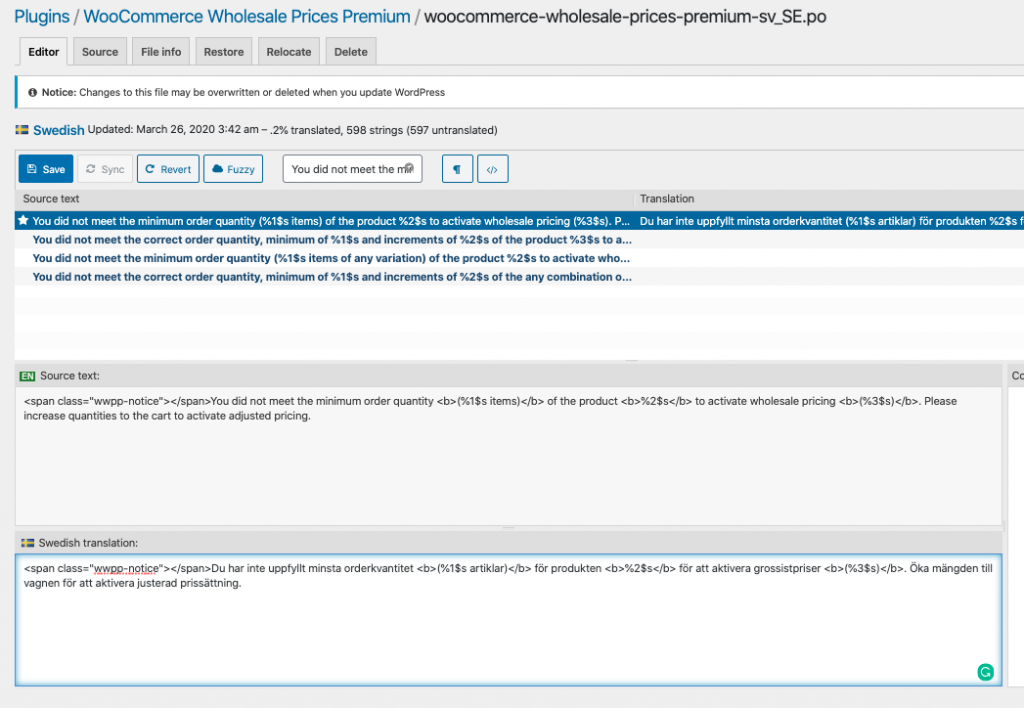 Step 3: Find the string you want to translate and add the translation
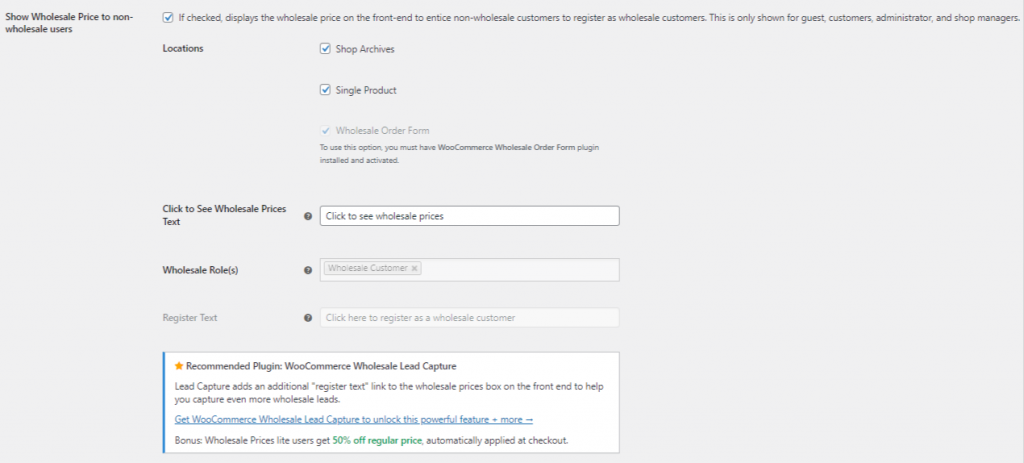 Show Wholesale Prices to Non-Wholesale Price Setting
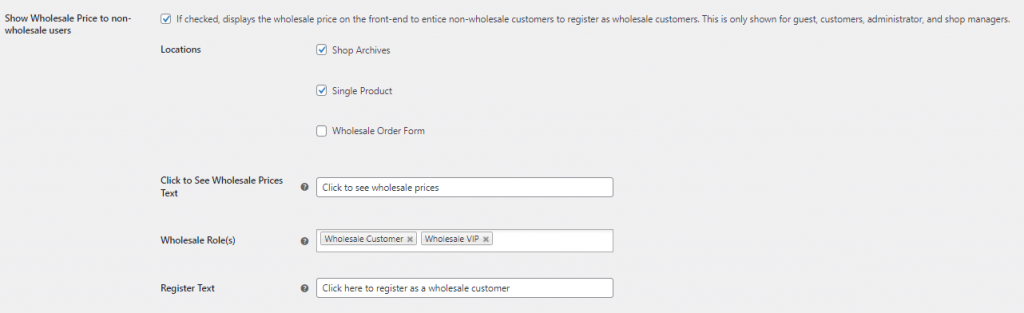 Show Wholesale Prices to Non-Wholesale Price Setting – All Options Unlocked
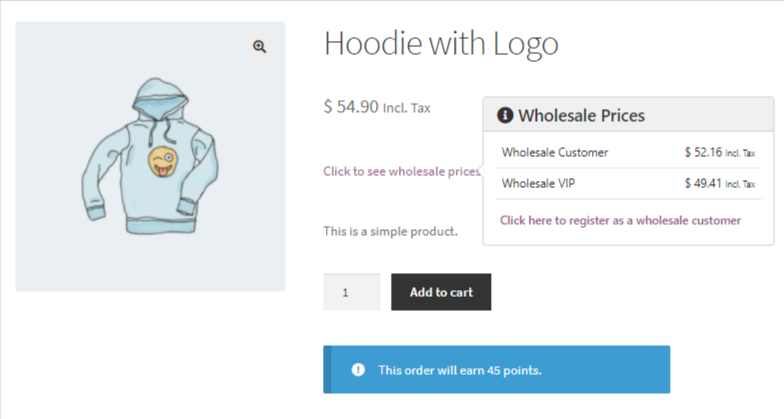 Show Wholesale Prices to Non-Wholesale Price Setting in the Single Product Page
 Advanced Coupons for WooCommerce』s Role Restriction Setting
 Subscription tab on My Account Page