WooCommerce Wholesale Prices (Free Plugin) Getting Started Guide
This document is a getting started guide for the free WooCommerce Wholesale Prices plugin for WooCommerce.
Firstly, welcome aboard! You are about to start on an exciting journey. Adding wholesale to your WooCommerce store is one of the best decisions you could make for your e-commerce business.
Here』s what this guide will cover:
Overview – we describe what the plugin does
Wholesale Customer Role – we』ll explain what the wholesale customer role is
Setting Wholesale Prices – we show you how to configure wholesale prices for your products
Testing – we show you how to test those prices with a wholesale test account
Settings – an overview of the settings available in the free plugin
Advanced Features – what is available in the Premium version and it can do for you in addition to the free plugin
Overview
The free version of WooCommerce Wholesale Prices is a fully functional and legitimate way to add wholesale features and will suit many businesses that only require basic wholesale functions. It』s a great way to start with wholesale on your WooCommerce store.
There is also a Premium add-on for the free plugin which adds additional features as well as other plugins in the suite that add features like wholesale order forms and user management.
You can read all about those here.
What the free WooCommerce Wholesale Prices plugin does:
Adds a new user role for wholesale level customers
Lets you set basic wholesale pricing at the product level
Gives you some basic settings to customize common features
With these three things, you can implement wholesale in your WooCommerce store.
Subscribe to Wholesale Suite
The above is an introductory video but below, we』ll show you the new Wholesale Customer role and what that all means. So don』t just watch the video and leave, read on so get the full picture.
Wholesale Customer Role
The first concept to understand is the new Wholesale Customer user role that the plugin adds.
Normally, customers in your store will have the 「Customer」 user role. You can see this if you go to the backend of your website, click on Users->All Users, then click one of your customers.
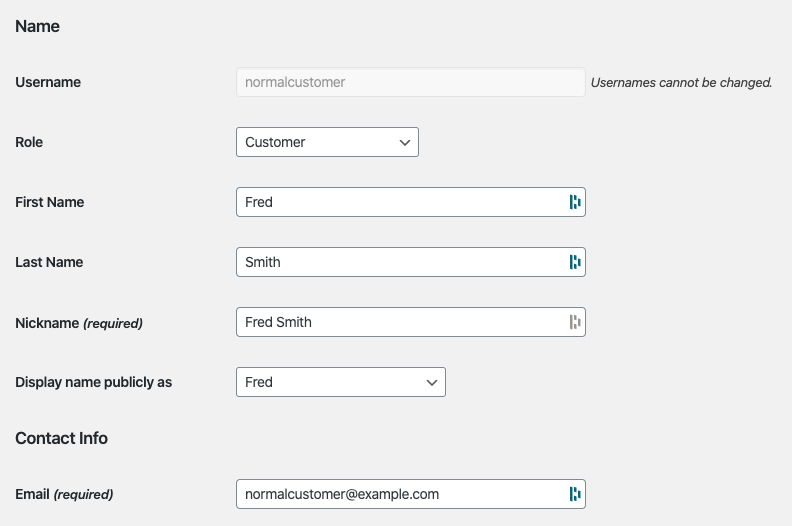
WooCommerce Wholesale Prices adds a new user role called 「Wholesale Customer」 so it can identify which customers who should have wholesale pricing.
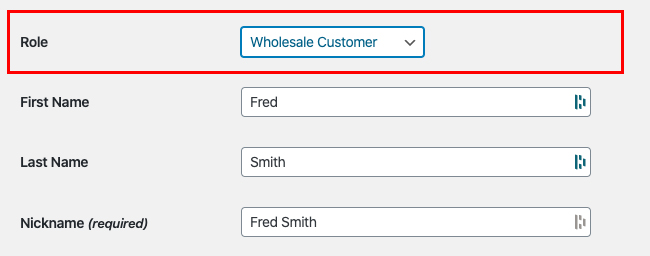
You can give wholesale pricing access to any customer simply by changing their user role to the Wholesale Customer role.
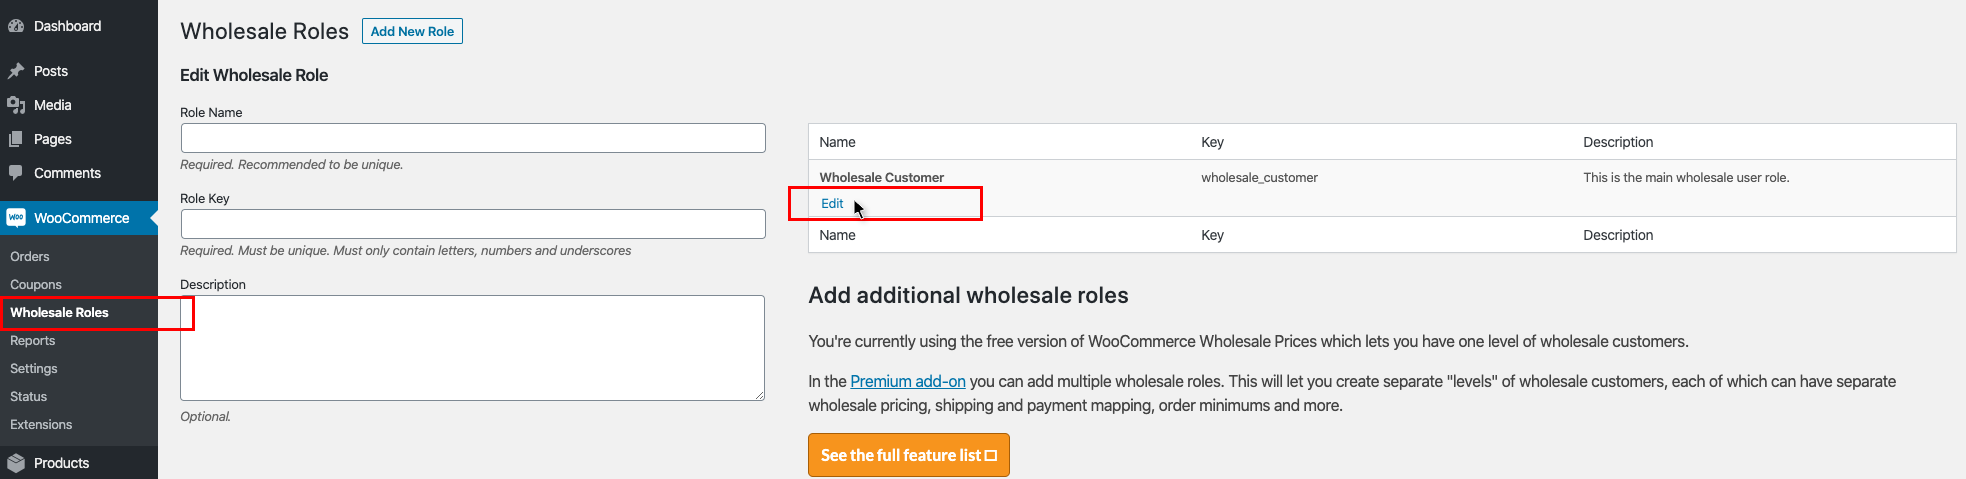
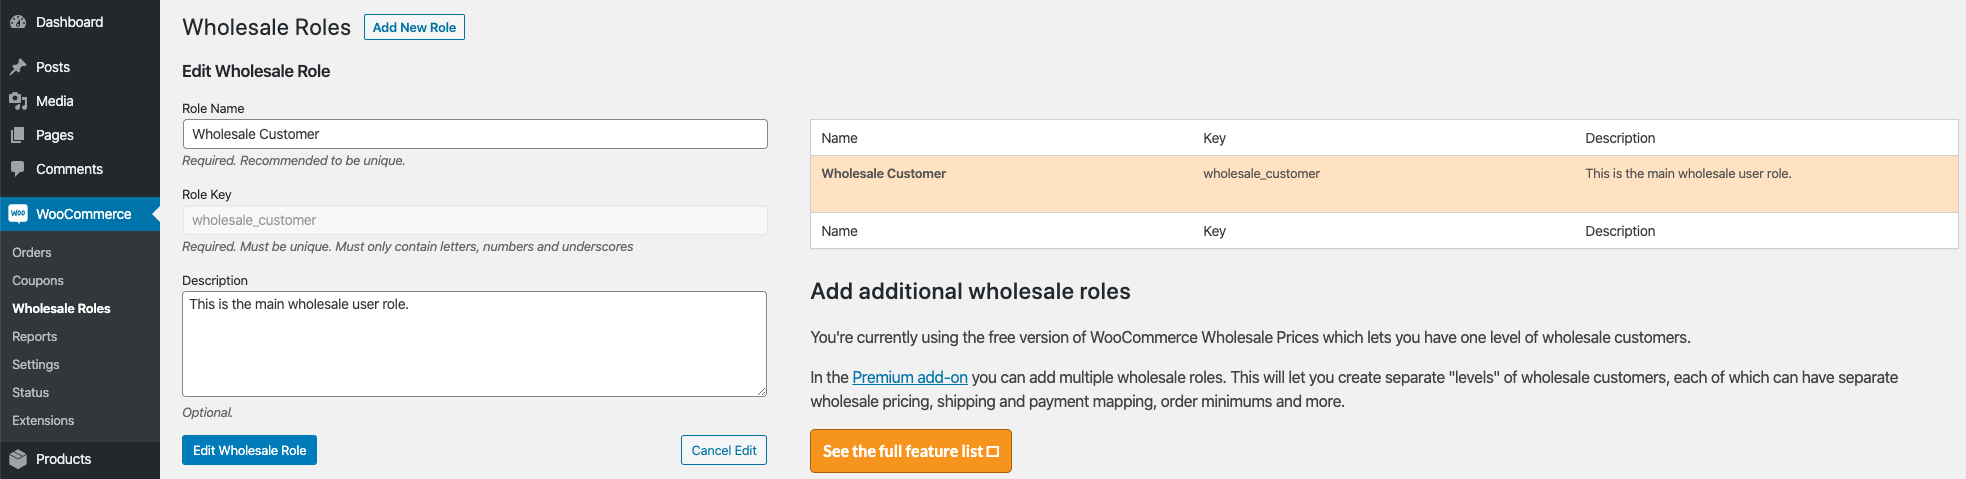
Want to change the words 「Wholesale Customer」 to something else? Maybe something like 「Trade Customer」 or similar? You can do this under WooCommerce->Wholesale Roles.
Next, let』s look at how to set wholesale pricing on a product.
Setting Wholesale Prices
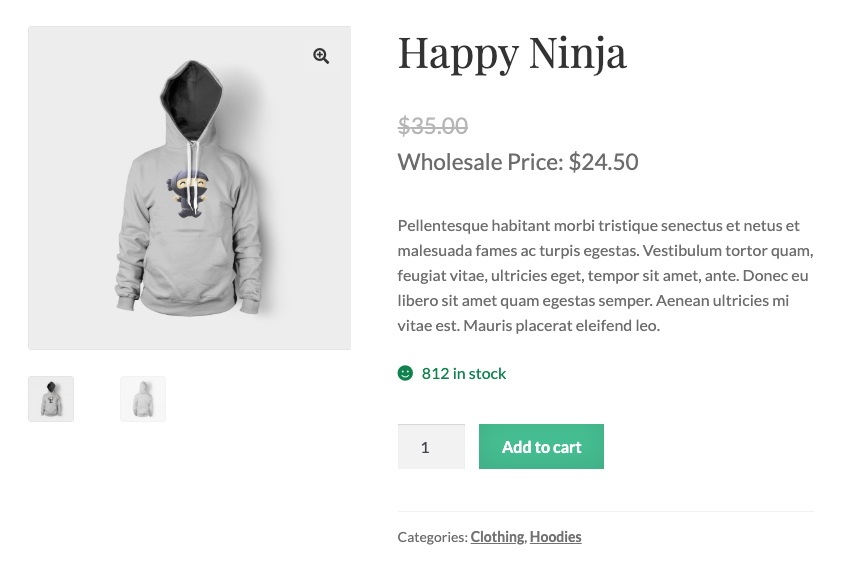
In the free plugin, you can set wholesale pricing via the Product edit screen. You might notice in the screenshot below that you see the wording 「Wholesale Customer ($):」 on the field.
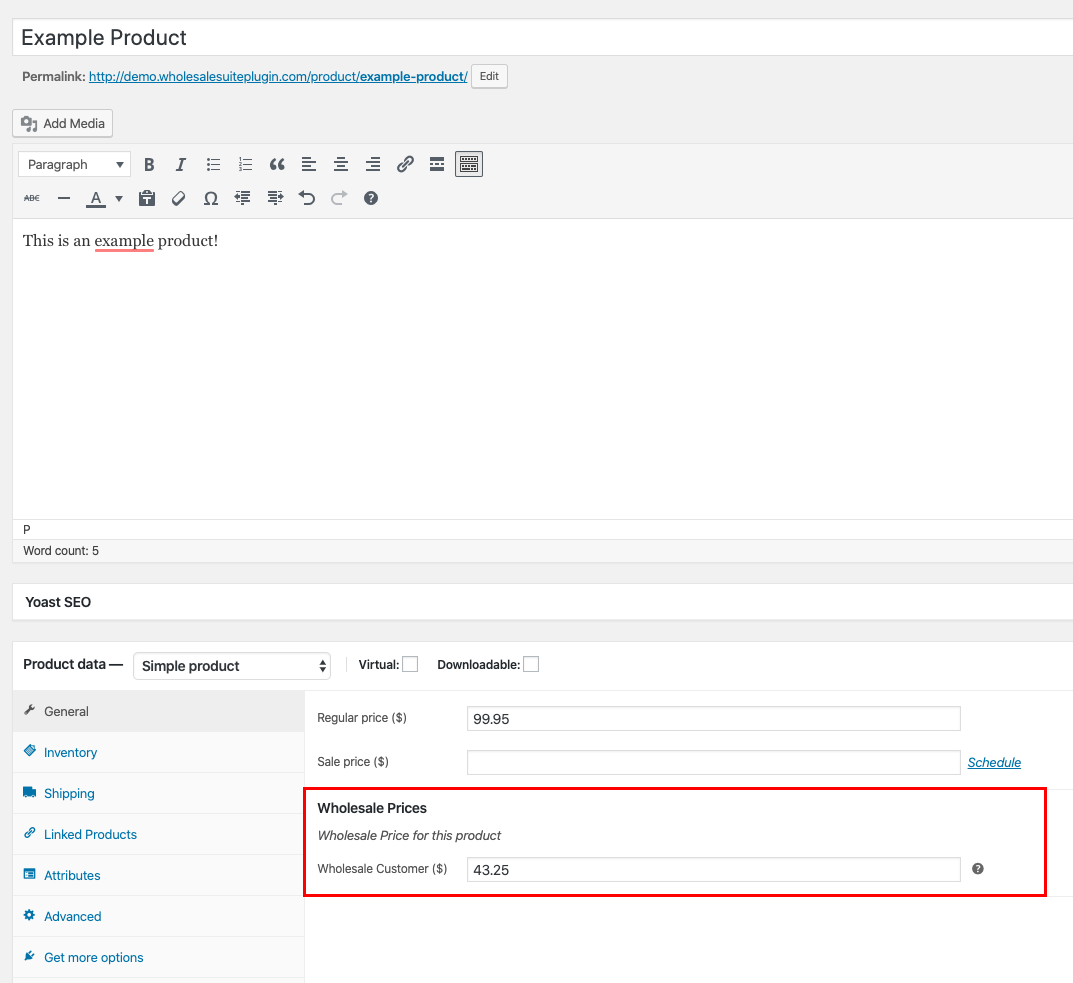
This is because what we』re actually doing here is setting the wholesale price for that Wholesale Customer user role.
When you define a wholesale price, the price is related to the user role that you are setting it for.
In the free plugin, there is only one user role (the Wholesale Customer role) but this is an important concept to understand because you can add more wholesale role levels in WooCommerce Wholesale Prices Premium.
Click here to read a full guide on how to set wholesale pricing which covers all the options of the premium plugin as well.
Once a wholesale price has been set for the Wholesale Customer role you』ll need to test it is working, so let』s look at how to do that.
Testing
Because wholesale prices are attached to a specific user role, only users with that role are able to see the wholesale prices on your products that you』ve set for that role.
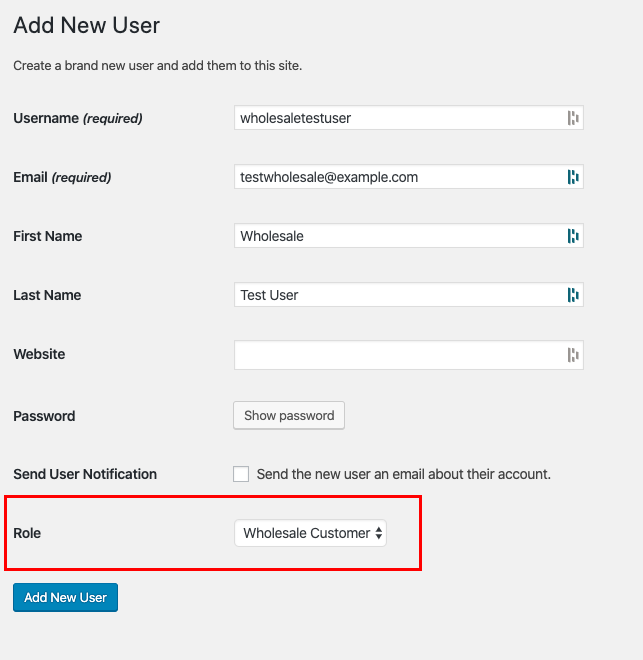
With that in mind, to test your wholesale pricing on the front end of your site you need to log in with a wholesale test account.
First, you need to create a new user. To do this login to your dashboard, click Users->Add New, give the user the Wholesale Customer user role.
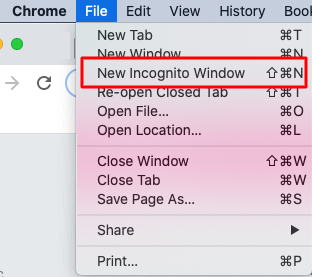
Next, open up a new Private Browsing or Incognito window. This will give you a fresh logged out browser session.
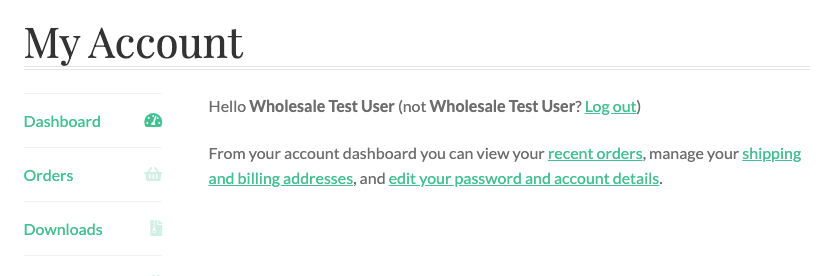
Visit your website and log in with the new test user you just created.
Visit the product where you have set wholesale pricing and you should see the wholesale price there.
Next, we』ll take a quick look at some of the settings available in the free plugin.
Settings
The settings on the free plugin are pretty light because most of the functionality is covered by the product edit screen and the user role as described above.
There are a number of settings available for basic customizations.
You can find these settings by logging into your dashboard, go to WooCommerce->Settings, Wholesale Prices tab.
There are a number of sub-menus in the settings area:
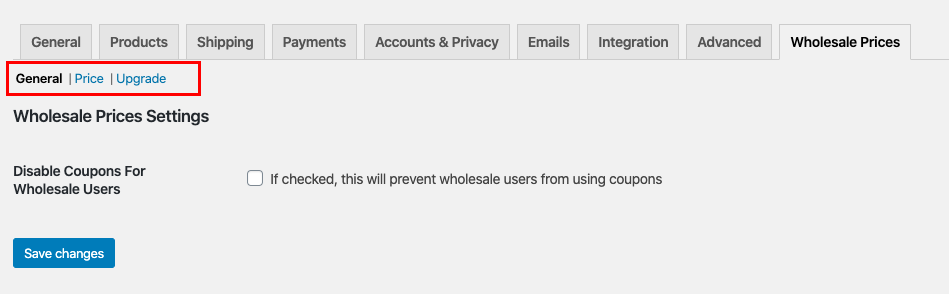
The first screen you will land on is the General sub-menu which contains the following settings:
Setting Name
What It Does
Disable Coupons For Wholesale Users
Stops your wholesale level customers using coupons
The second sub-menu is the Price sub-menu which contains the following settings:
Setting Name
What It Does
Wholesale Price Text
Lets you change the front end text shown to users for the wholesale price on product listings
Hide Original Price
Hides the regular price from wholesale customers so the only price they see if the wholesale price
The third sub-menu is the Upgrade sub-menu which describes some of the features available in WooCommerce Wholesale Prices Premium.
And that brings me to the final part of this guide, getting more advanced with your wholesale operation…
Advanced Features
Setting basic wholesale prices is just the beginning. There is so much more to setting up a wholesale component to your store and if you』re serious about utilizing wholesale sales to grow your business then you should consider what we have to offer in the rest of the Wholesale Suite.
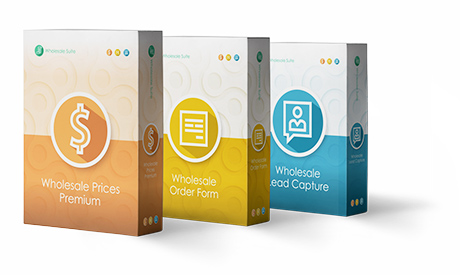
WooCommerce Wholesale Prices Premium
View Plugin Features
View Plugin Features
Premium is the add-on for the free plugin and immediately it opens up a lot of extra features that will give you maximum flexibility.
Additionally, some countries require certain specific rules to be followed when selling and advertising pricing to wholesale customers and Prices Premium has been designed to cater to everyone.
Top Feature Highlights:
Unlimited number of additional wholesale roles
Set prices via global % or category % in addition to the product level pricing
Tax exemption based on user role which is flexible enough to cater for even the most stringent tax policies
Shipping mapping where to can force wholesale customers to use certain methods and you can restrict certain shipping options to only wholesale customers
Payment gateway mapping where you can force wholesale customers to use certain gateways and likewise restrict certain gateways to only wholesale customers
Adjust the visibility of products to be wholesale only, retail only or a mix. This lets you adjust variation visibility as well
Add minimum purchase rules so you can enforce your wholesale agreements on the order level and set sensible minimums on the product level
These are just a few of the hundreds of features inside the premium add-on.
WooCommerce Wholesale Order Form
View Plugin Features
The time it takes for a wholesale customer to place an order is one of the biggest pain points you can eliminate.
Wholesale customers are not like regular retail customers. They don』t want to sift through your normal shop pages adding products to cart that way. They need a tabular form-based interface that makes it fast to add products to the cart in the quantities they desire.
This is where the Order Form plugin comes in.
Top Feature Highlights:
Your whole catalog on one page – searchable and categorized
No page reloads, full ajax enabled so wholesalers can add to cart without leaving the page
Slimline tabulated interface that is mobile & tablet friendly
Wildcard keyword & SKU searching
Hierarchical category filter
Permissions control so only those allowed can access the form
These are just a few high-level features that you』ll give your wholesale customers by using the Order Form plugin.
WooCommerce Wholesale Lead Capture
View Plugin Features

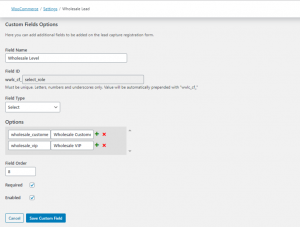
Managing wholesale level customers can be a bit of a headache if you are doing it manually. The Wholesale Lead Capture plugin gives you a wholesale specific registration form, dedicated wholesale login page, sign up email sequences, and your choice of manual or automated approvals.
It really takes the pain out of manually recruiting & registering wholesale customers which will save you time and let you put wholesale recruitment on autopilot.
Top Feature Highlights:
Registration form builder lets you capture whatever information you need during sign-up
Pre-fill the checkout fields with the information that you capture during sign up to smooth the first-order process for your new wholesale customer
Built-in spam protection with honeypot technology and optionally Google Recaptcha
Automated email sequences for admin and customer-facing approval and notification emails
Complete user approvals system which can be based on manual approvals or 100% automated if you wish
The Lead Capture plugin will make recruiting your wholesale customers and managing them much less painful.
The Wholesale Suite Bundle
View Plugin Bundle
If you buy all three of our WooCommerce wholesale plugins together, in the Wholesale Suite Bundle, you』ll be giving your wholesale customers an amazing experience alongside your retail store.
These extensions are designed to grow your business:
Easily add wholesale pricing to your products
Streamline your wholesale ordering process
Manage your wholesale level customers
It』s the best collection of WooCommerce wholesale extensions on the market that you can trust your wholesale operation with.
Help & Support
We have a dedicated support team for Wholesale Suite who knows our products, WooCommerce, and the industry very well. You』re welcome to make use of their expertise at any time, worldwide.
If you are an existing customer please go to the support ticket request form and send us a message.
If you are a free plugin user, please send us a support request on the forum, we actively monitor the WordPress.org support forums for the free plugin and help our users there as best as we can.
 Wholesale Role Selection Sample Setup
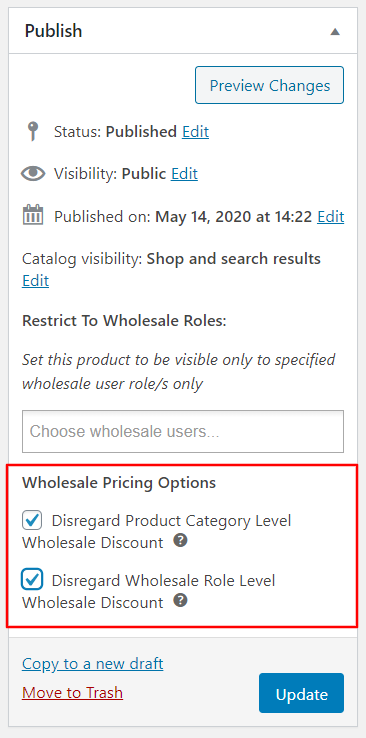 Wholesale Pricing Option
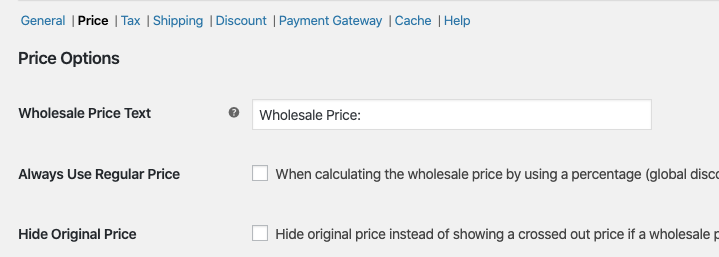

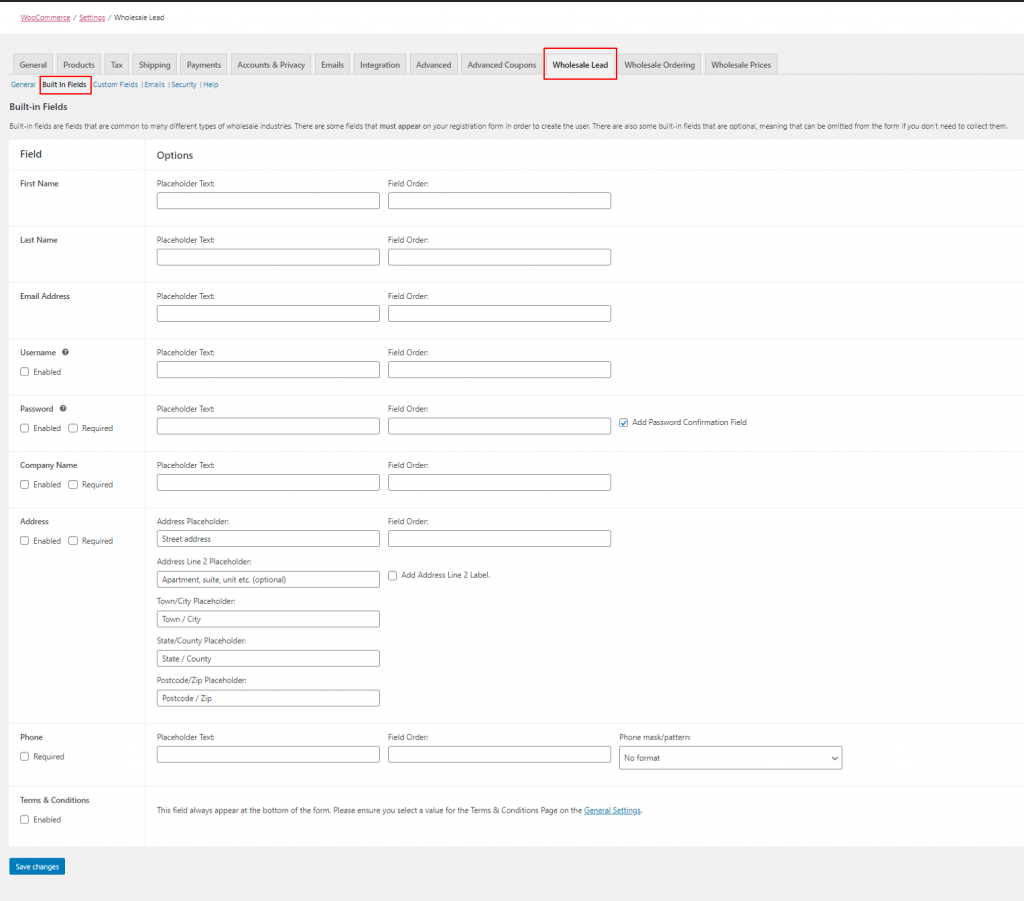 Lead Capture』s Built-in Fields (Click to Zoom)
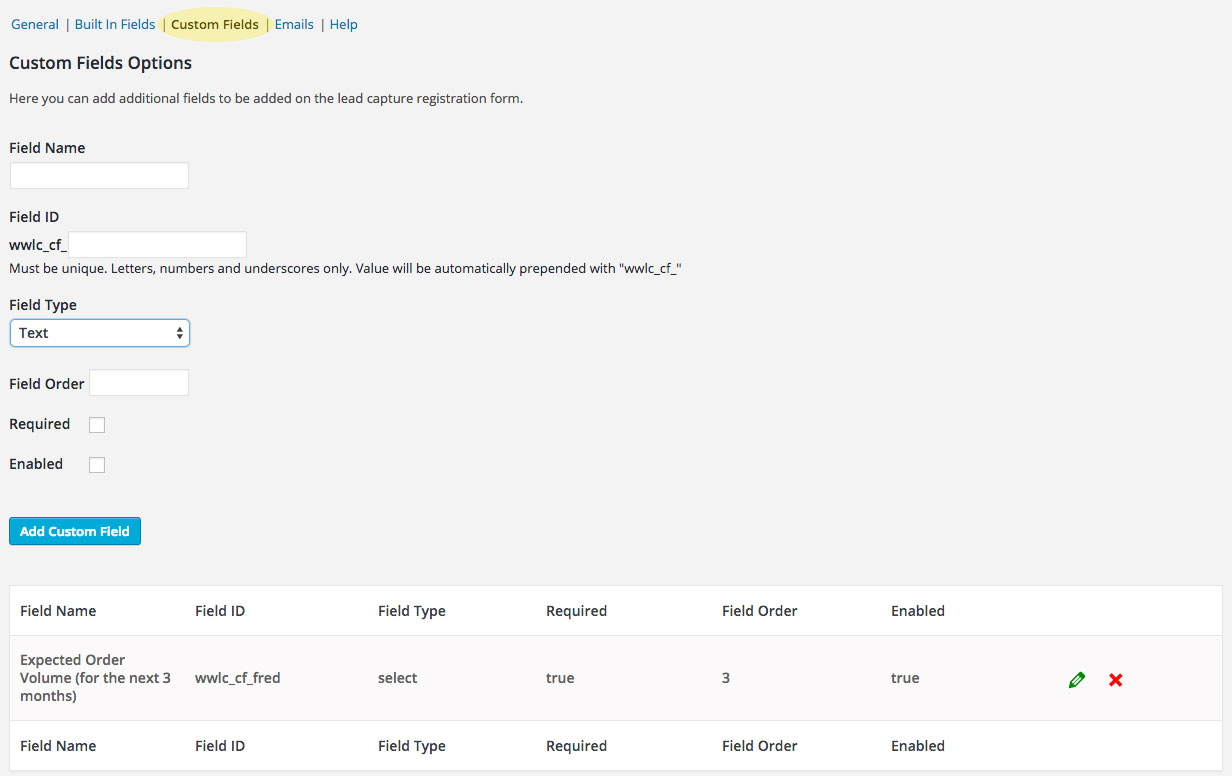 Lead Capture Custom Fields